Note: phiên bản Tiếng Việt của bài này ở link dưới.
https://duongnt.com/saml-setup-okta-vie/
This is the first part of a three-part series about single sign-on (SSO) using SAML with OKTA. You can find the other parts from here.
Set up a developer account with OKTA
OKTA is an identity provider with services like Single Sign-On, Multi-factor Authentication,… In this series, we will use OKTA to provide SSO for our web app.
To request a trial with OKTA, you will need a business email. But it’s also possible to request a developer account with no email restrictions from this link.
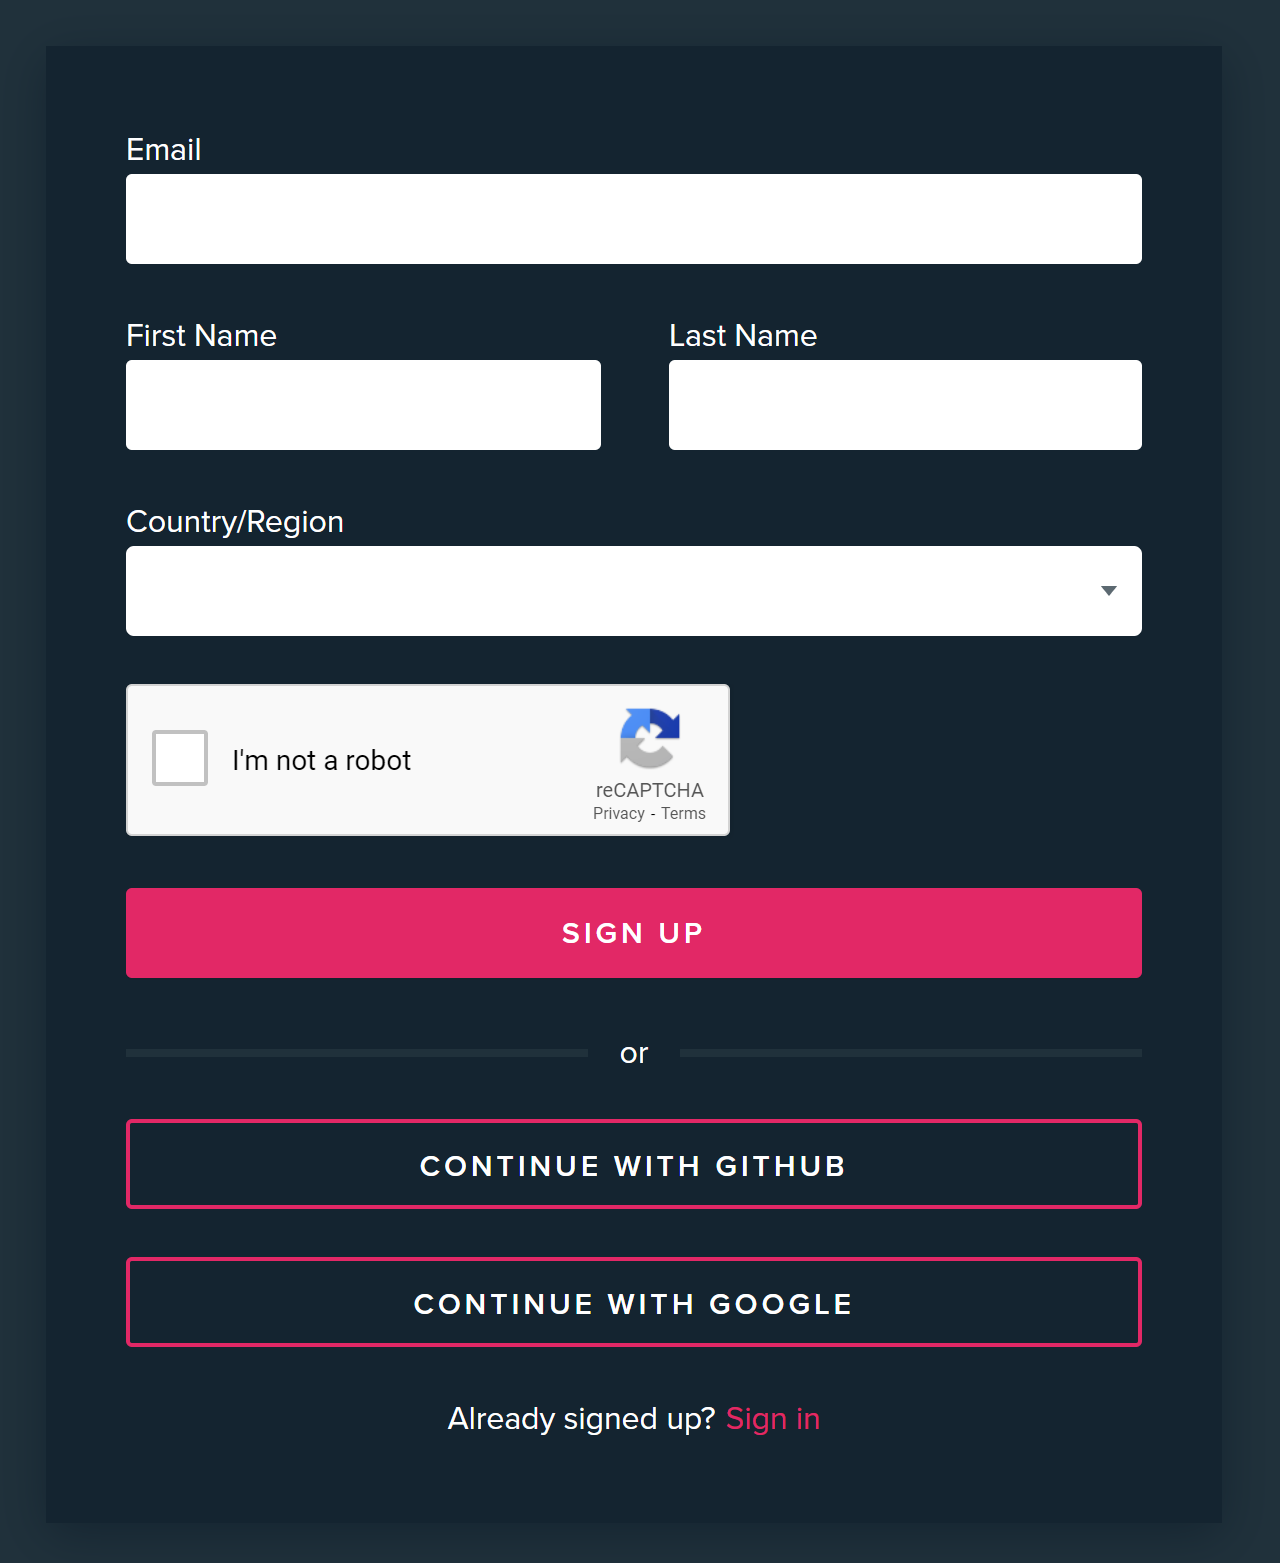
After verifying your email and logging in, you should see this page.
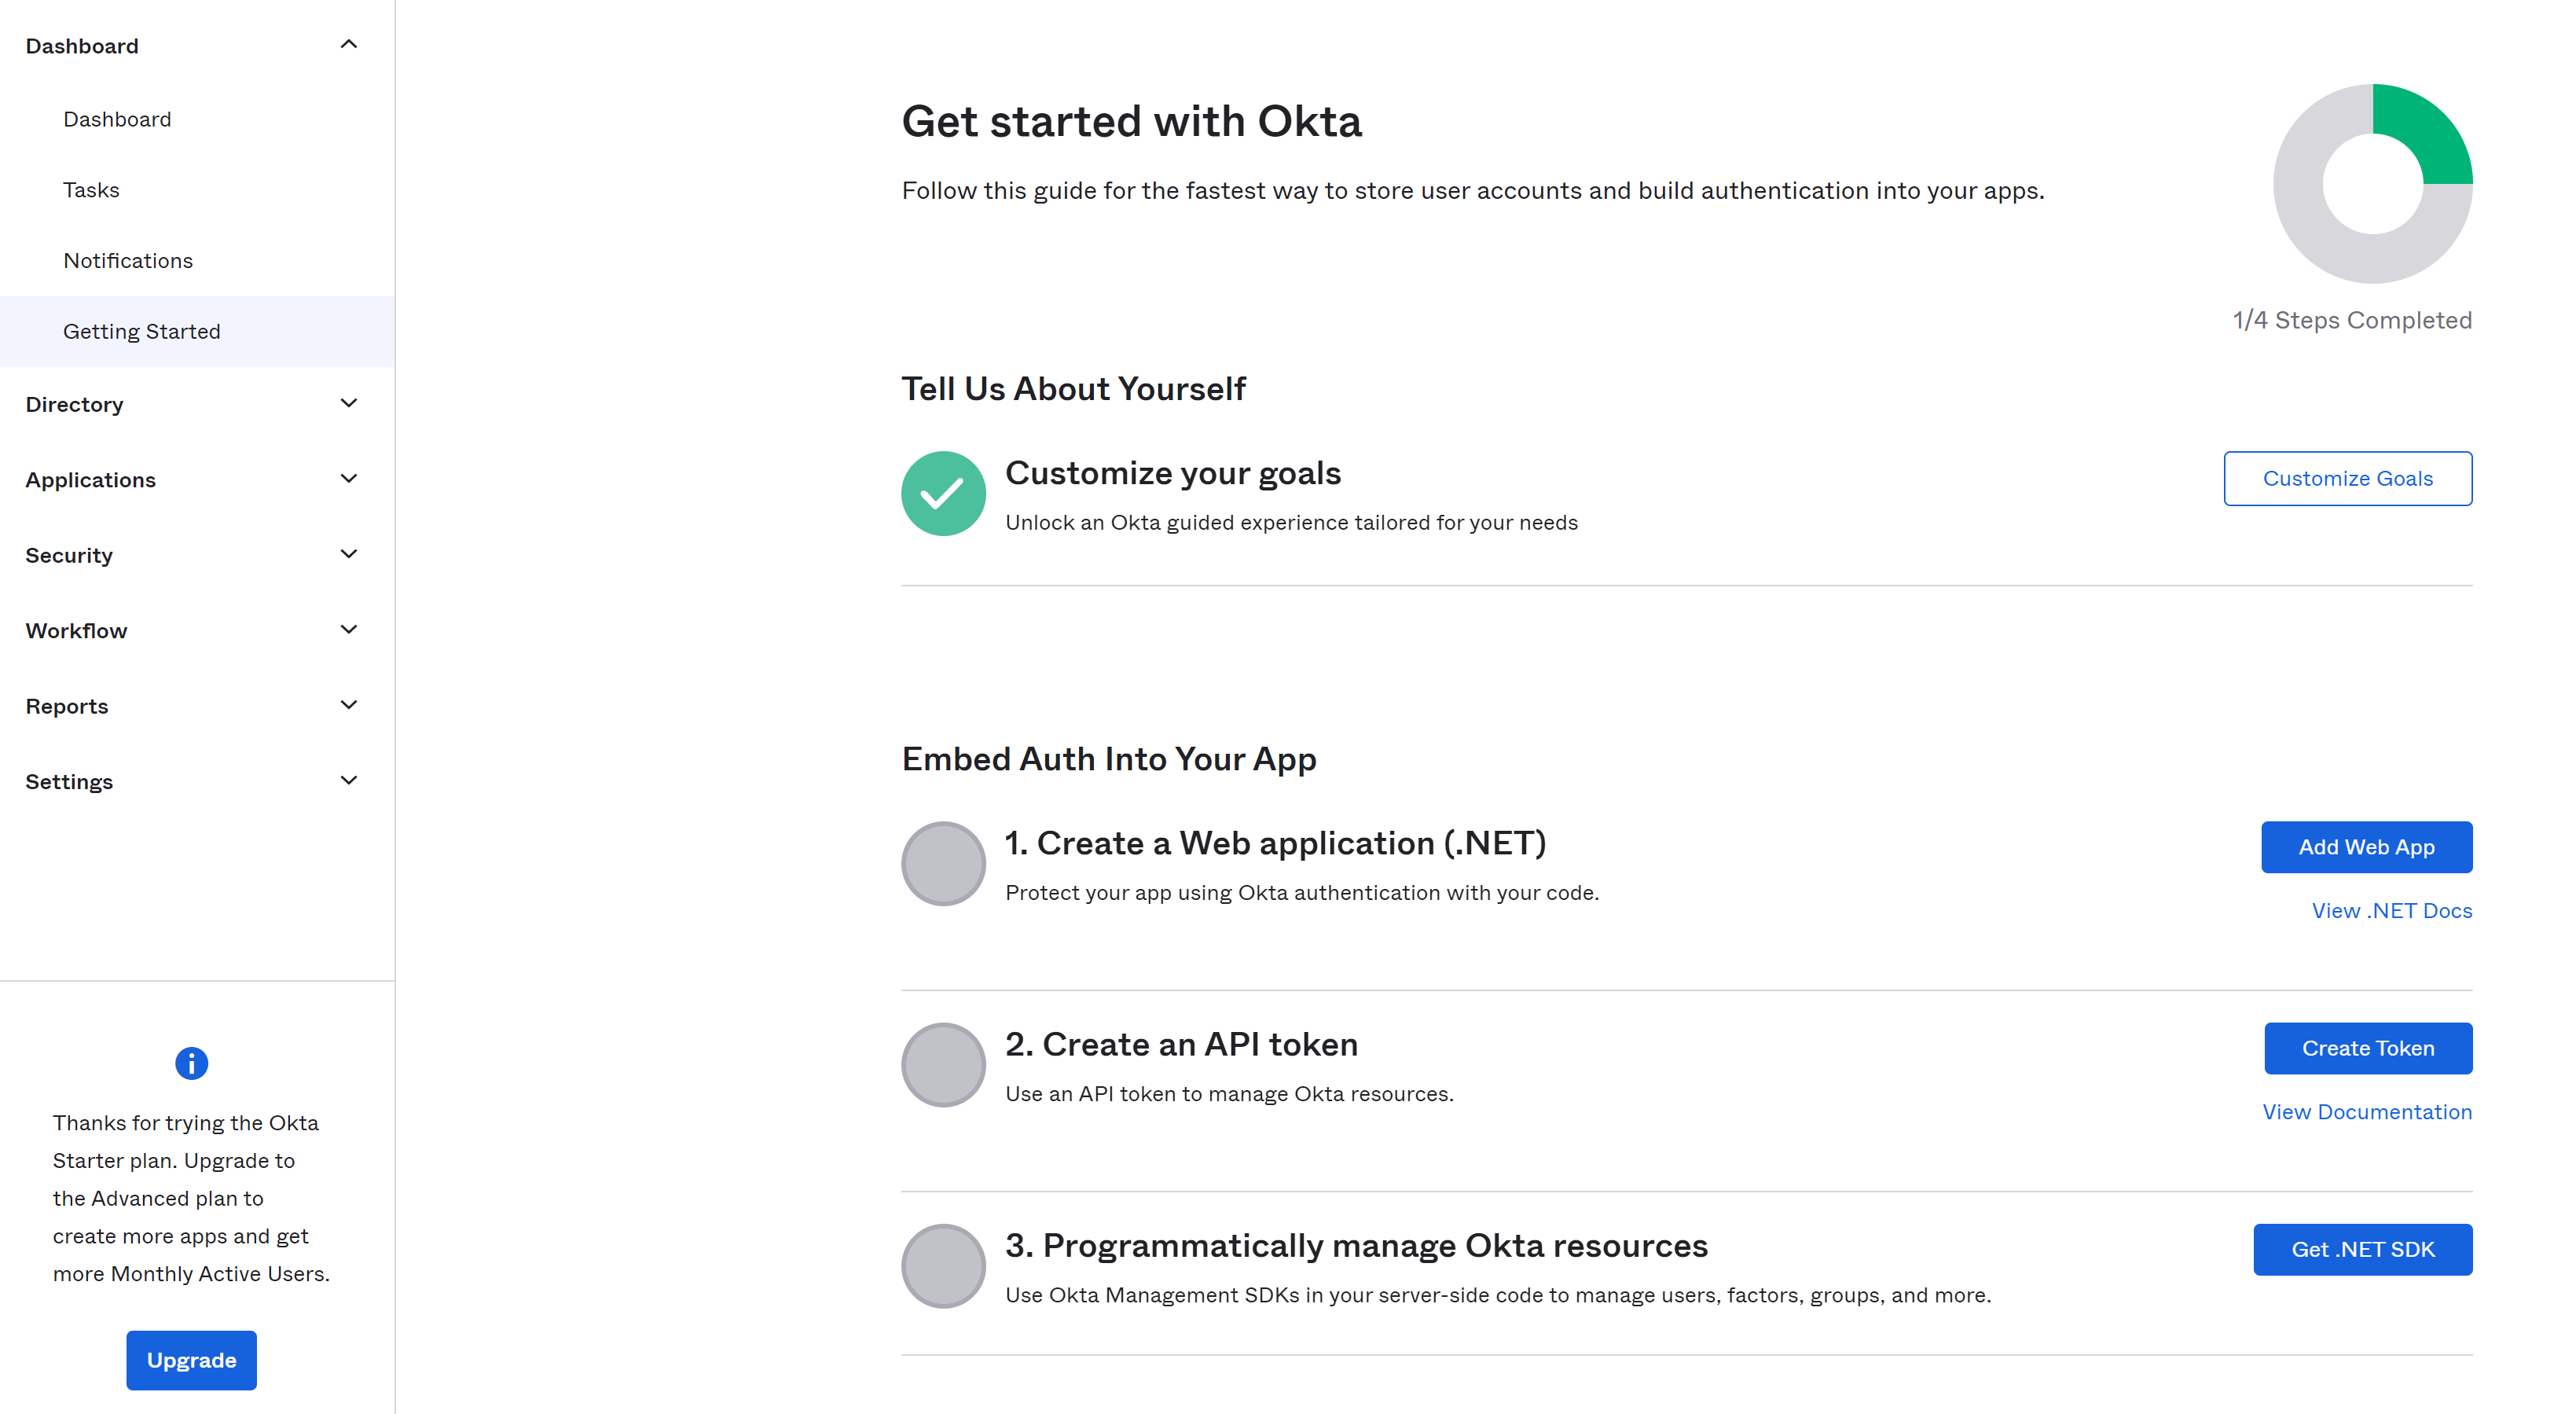
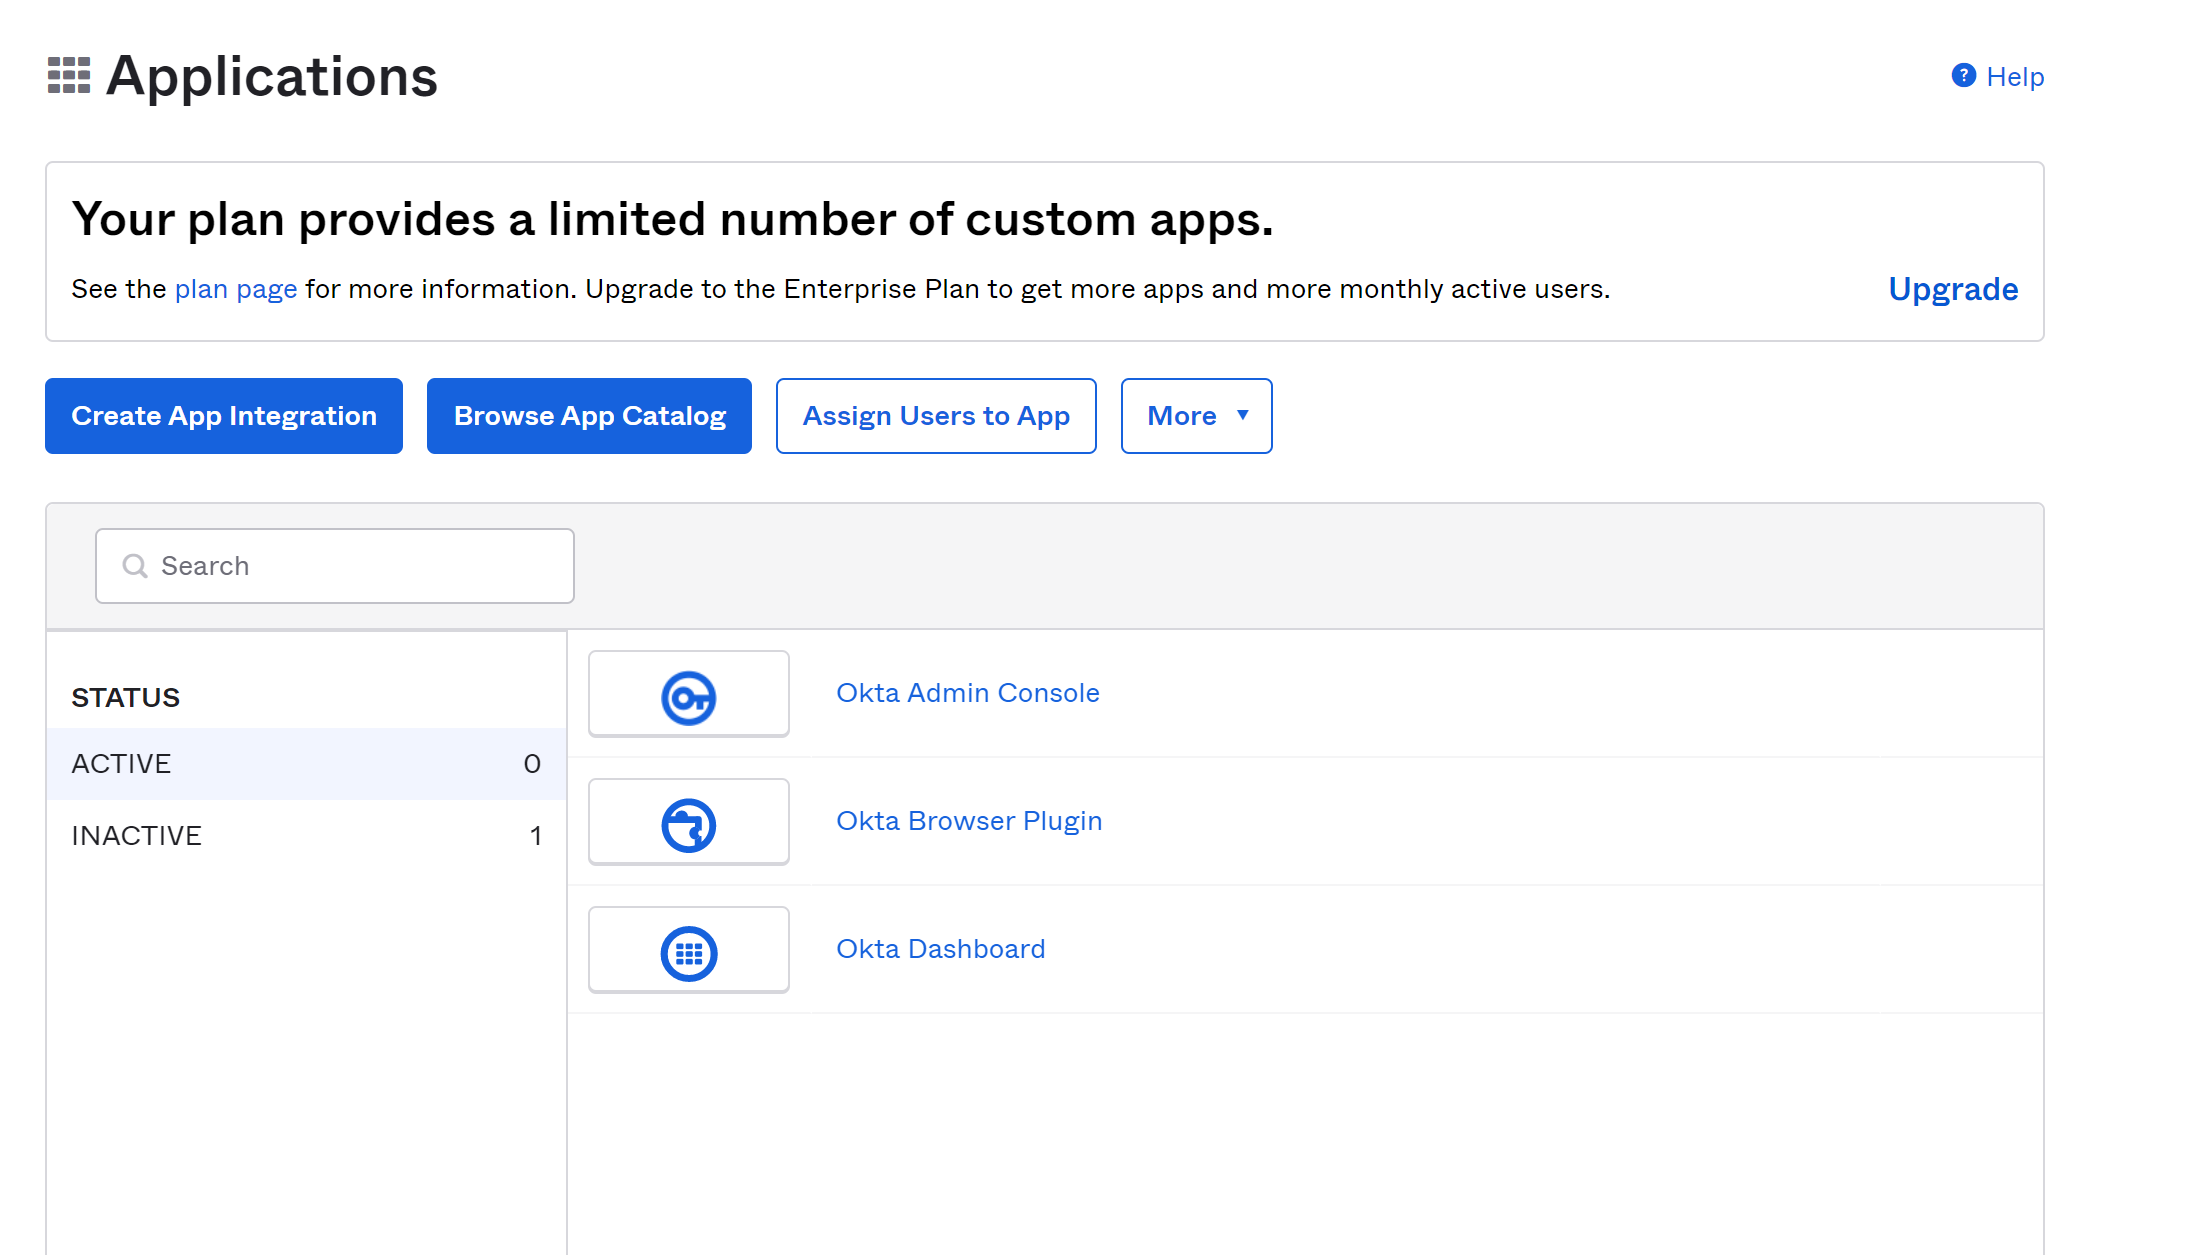
Go to Applications → Applications in the left-hand side tab to open the list of applications in your organization, which should only contain the three default active apps.
Create a demo app
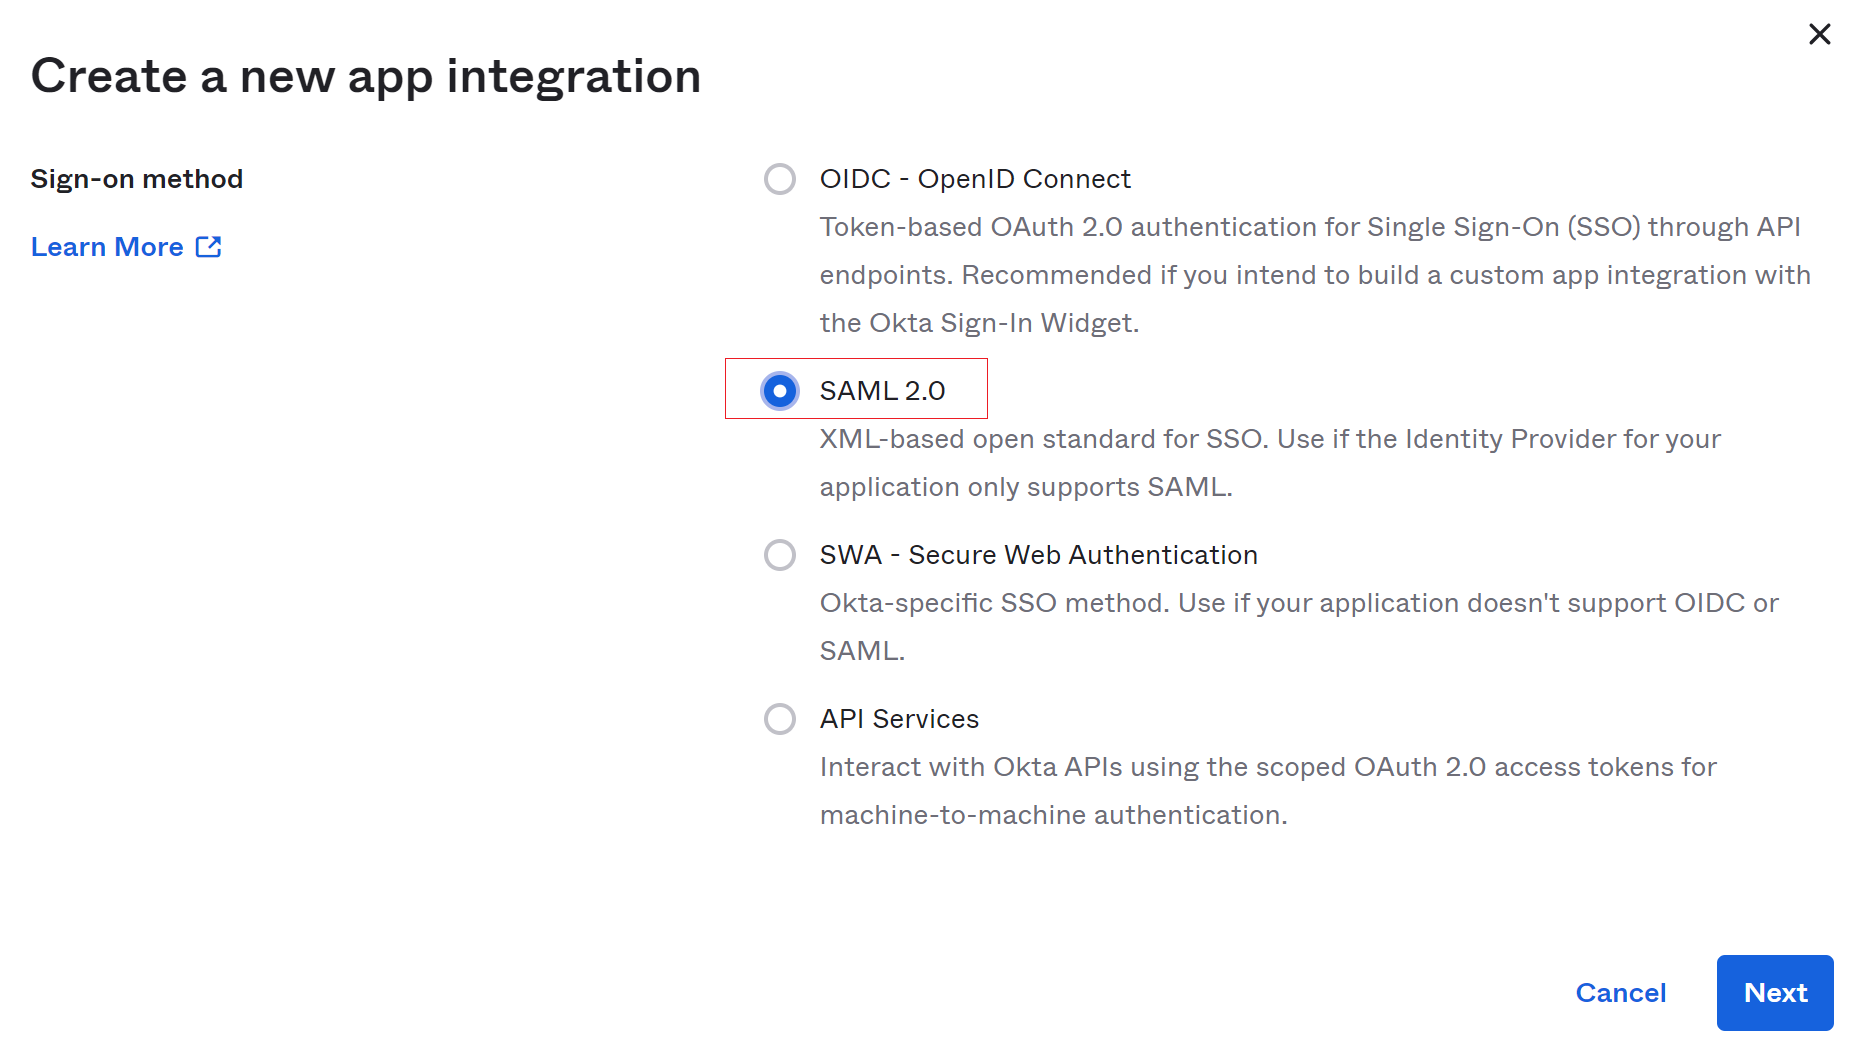
From the same Applications UI, select Create App Integration, choose SAML 2.0 for Sign-on method and click Next.
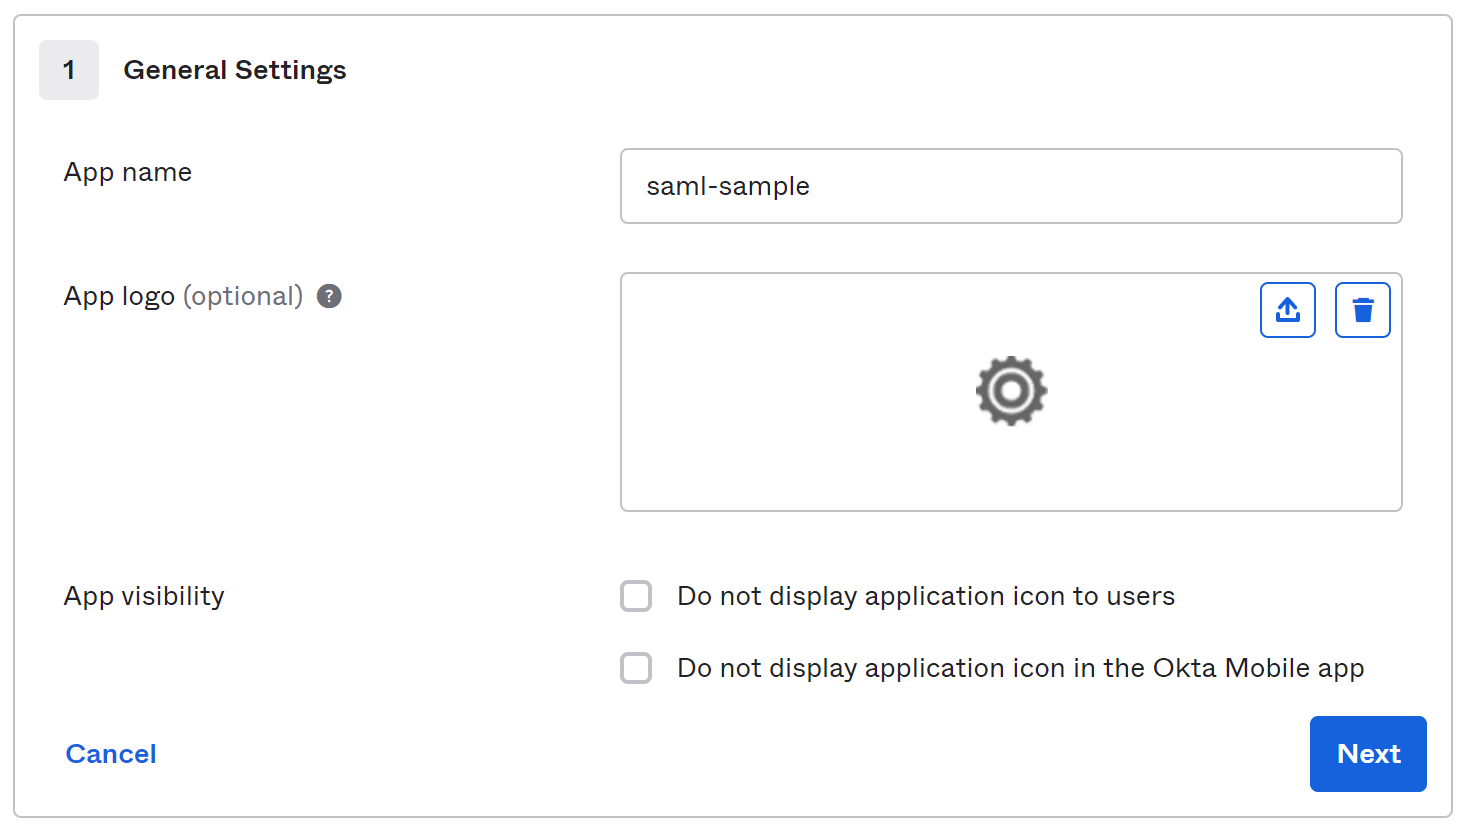
Set a name for your application and click Next.
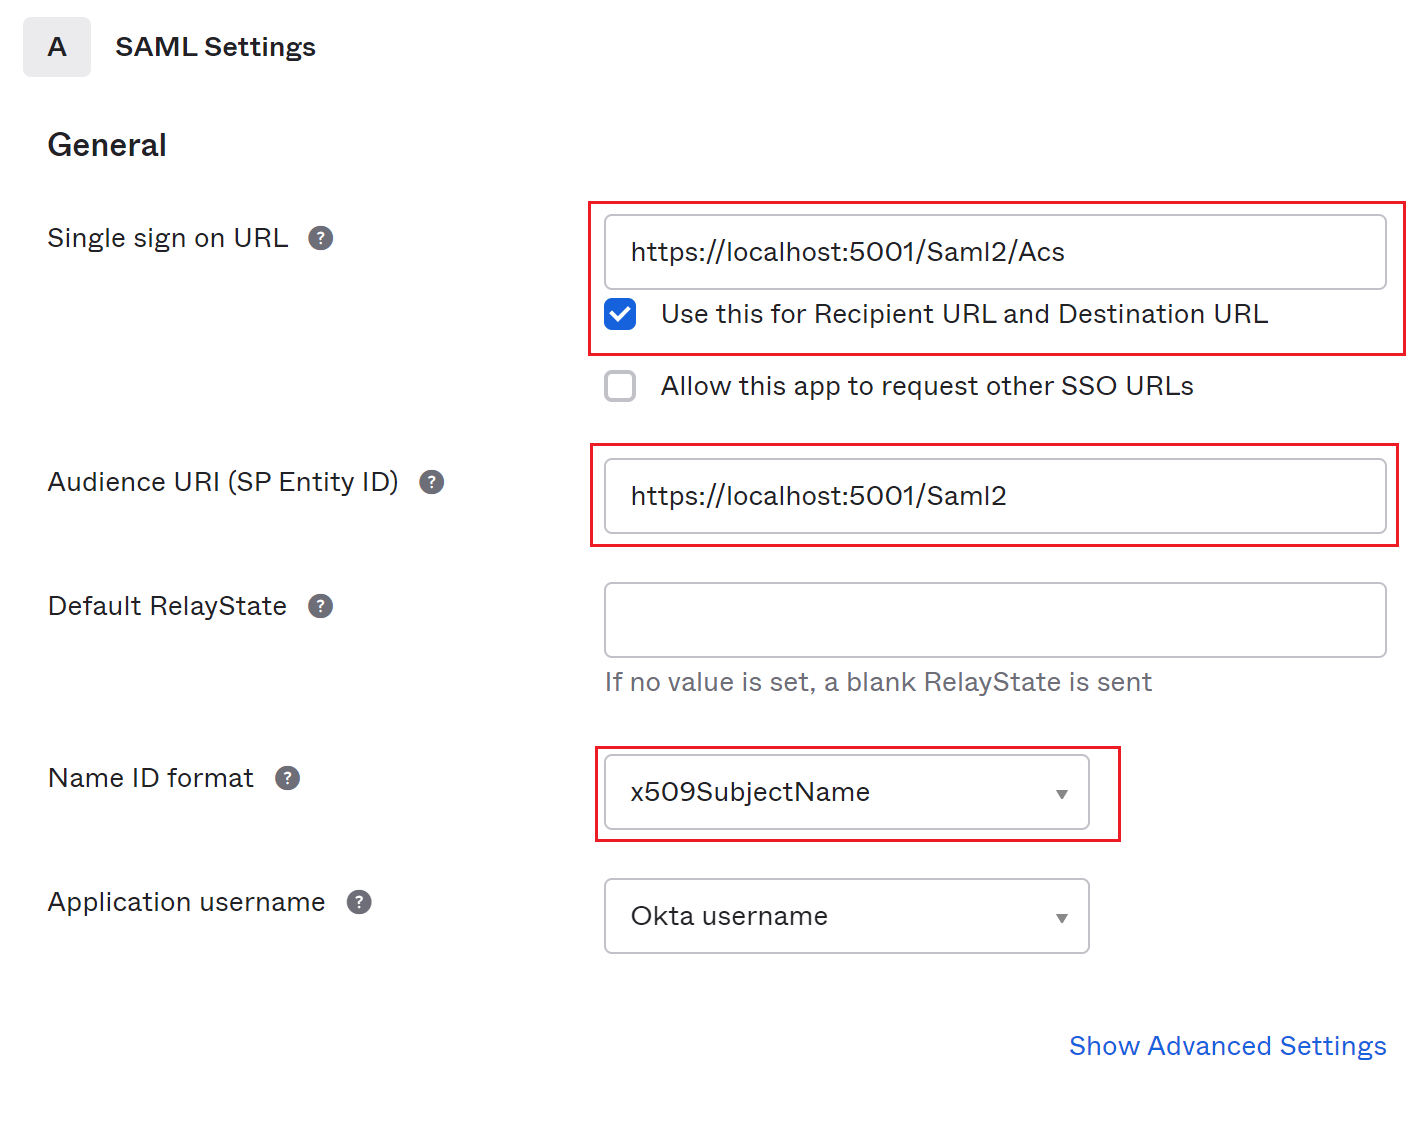
Set the following information and click Next.
- Single sign on URL:
https://localhost:5001/Saml2/Acs(this is case-sensitve, we will explain it in this article). - Audience URI (SP Entity ID):
https://localhost:5001/Saml2(this is also case-sensitive and we will explain it in this article). - Name ID format:
x509SubjectName.
Select I'm an Okta customer adding an internal app and This is an internal app that we have created for the next step and click Finish.

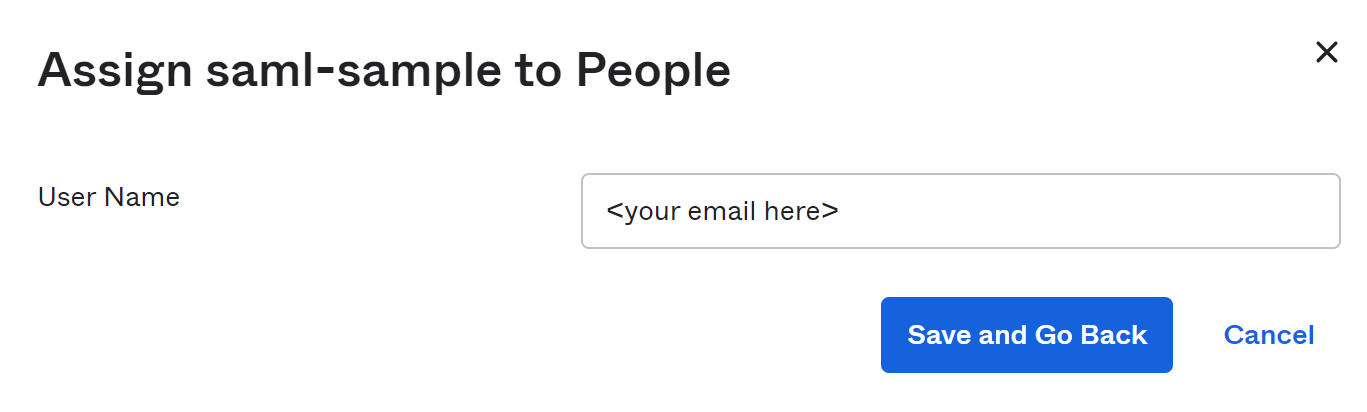
Change to Assignments tab of your newly created app, click Assign → Assign to People to assign it to yourself.
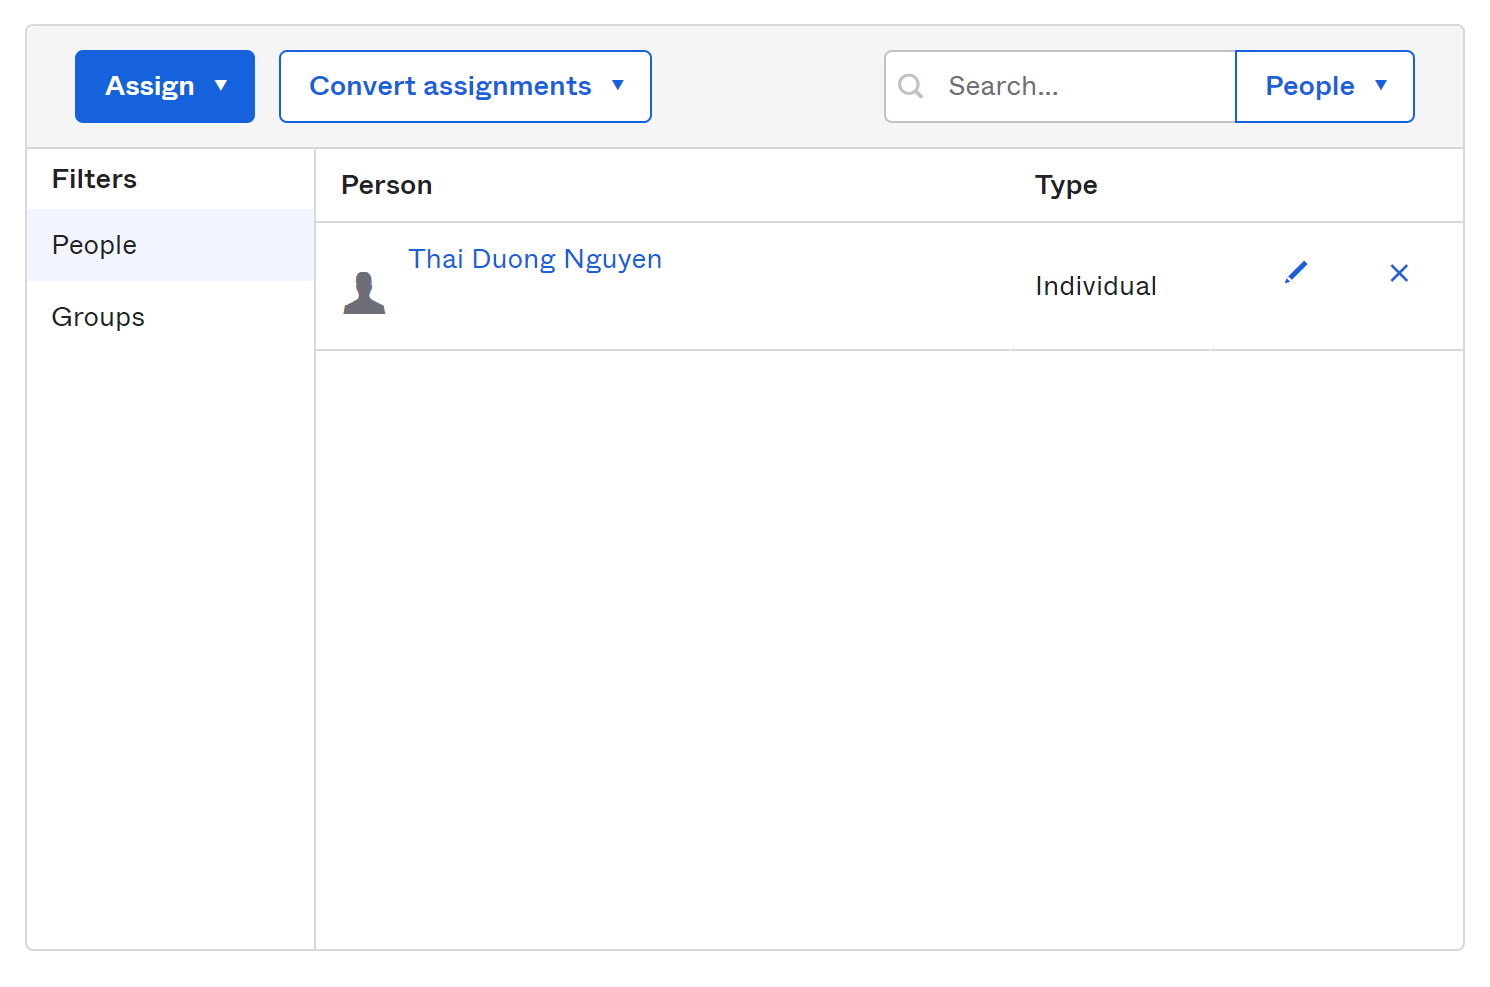
You should be able to see your name in the list of people who have access to this app.
There are many more settings you can tweak for your app, but the ones above are enough for our demo. In the next article, we will use it to authenticate your web application’s users.
Get the necessary SAML information
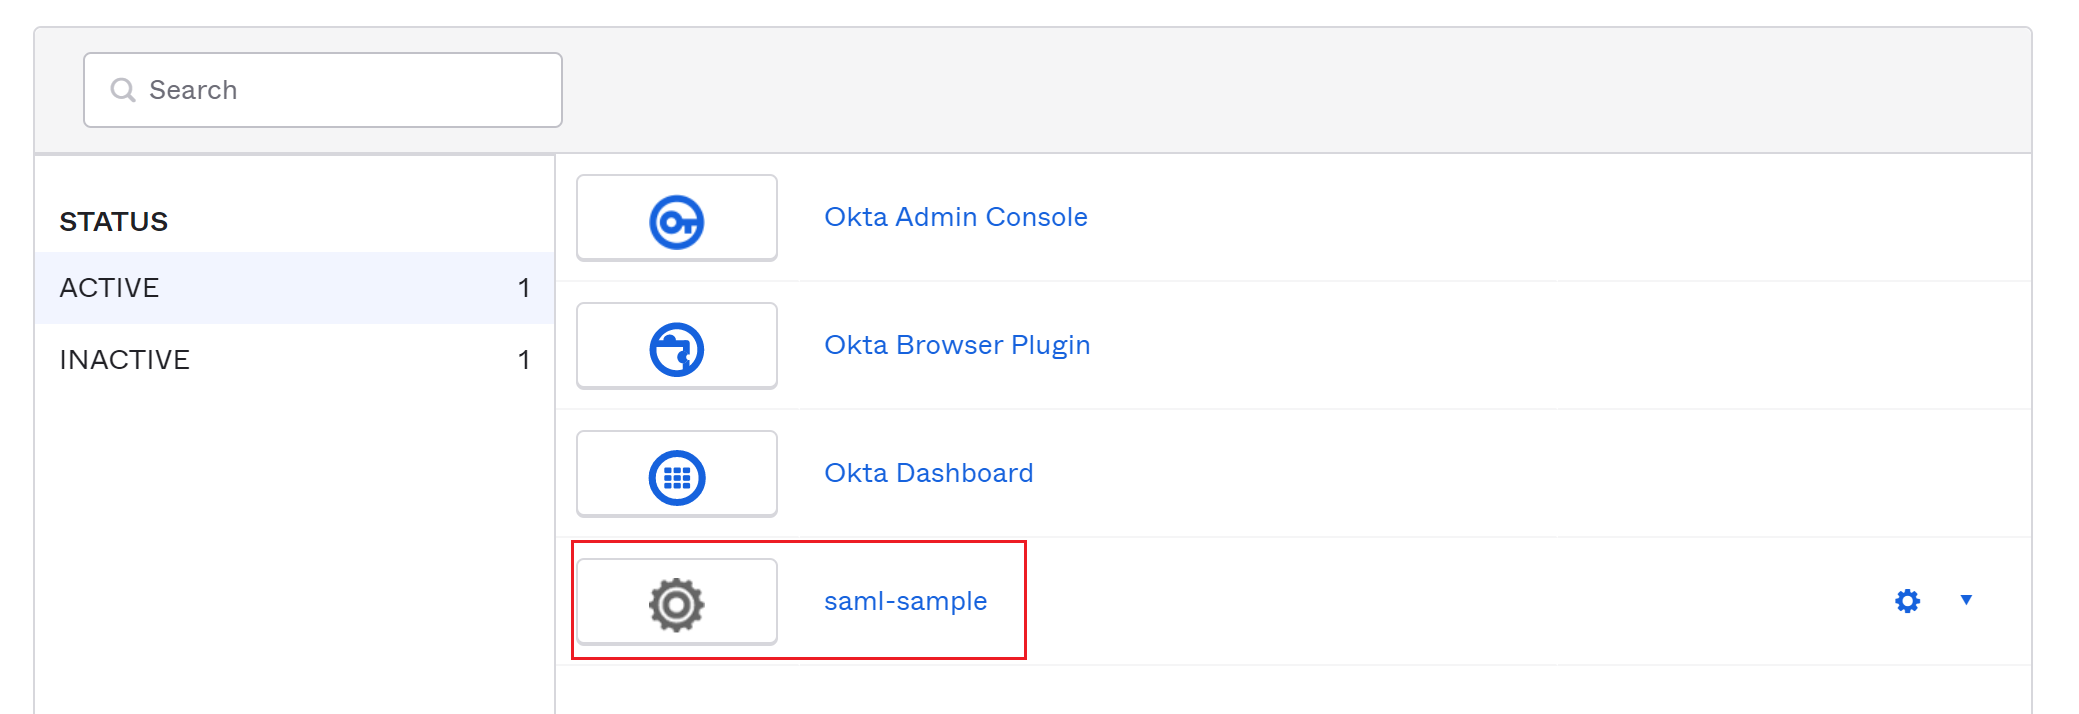
Select saml-sample app from the list of applications.
Switch to Sign On tab, right click Identity Provider Metadata and copy its URL. This is the link to the metadata file we will use to integrate OKTA with our web app.
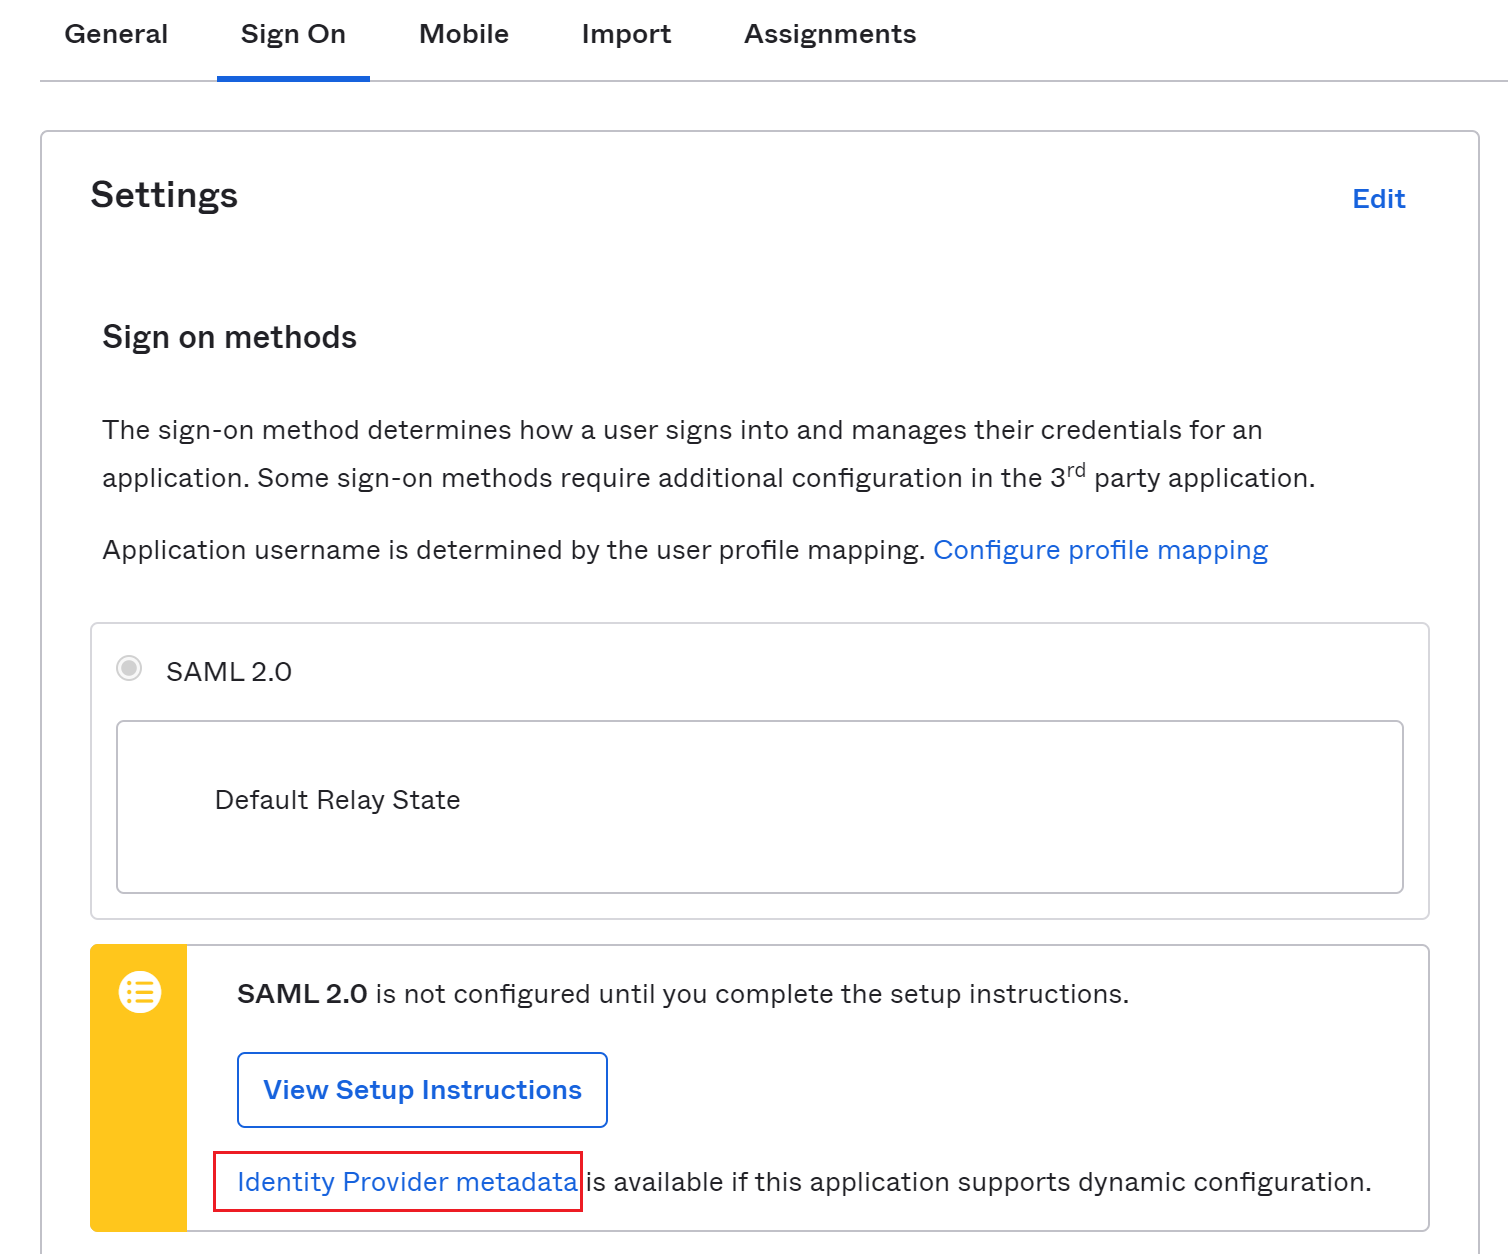
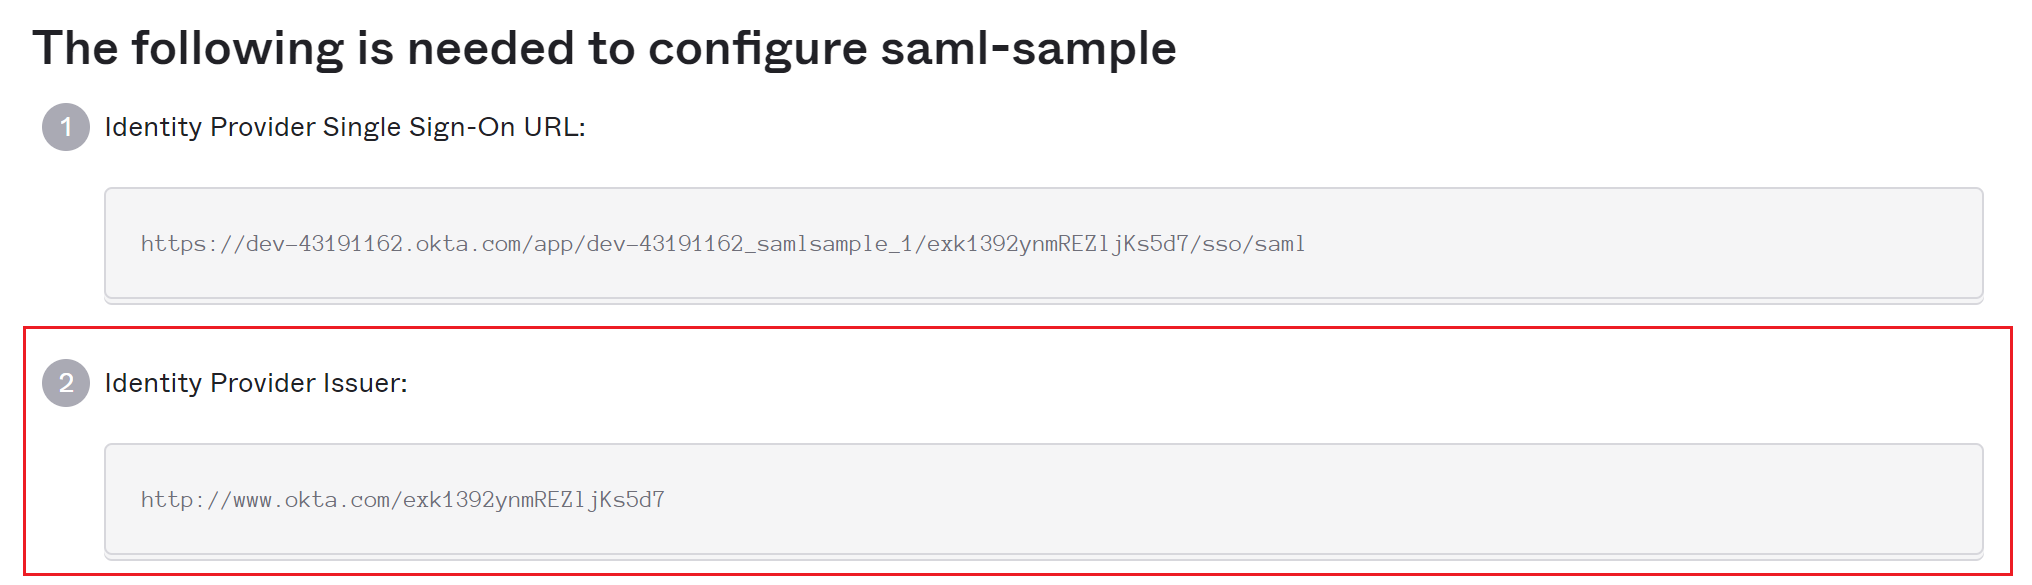
Click on View Setup Instructions, on the next screen, note down the value in Identity Provider Issuer field.
Conclusion
In this article, we have set up a test account on OKTA and registered an integration endpoint with the name saml-sample. In part two, we will use it to add SSO to a web app.
One Thought on “How to set up a development server with OKTA”